
On Friday, I finished the last jar of apple cider vinegar. It’s been a big apple year, and it’s not over yet. Red Delicious still hang on the tree, and three bushels wait by the furnace. The remaining apples are for snacking or recipes like applesauce cake and cider. We don’t drink much cider, but the stuff from the backyard is every bit as good as what you’d get at an orchard or the store.
In 2013, a neighbor introduced me to home vinegar making. I’ve written about it half a dozen times on this blog and it is really simple. Here is a handy process outline:
- Have home grown apples or know someone who does. It is too expensive to buy apples from a retailer for vinegar.
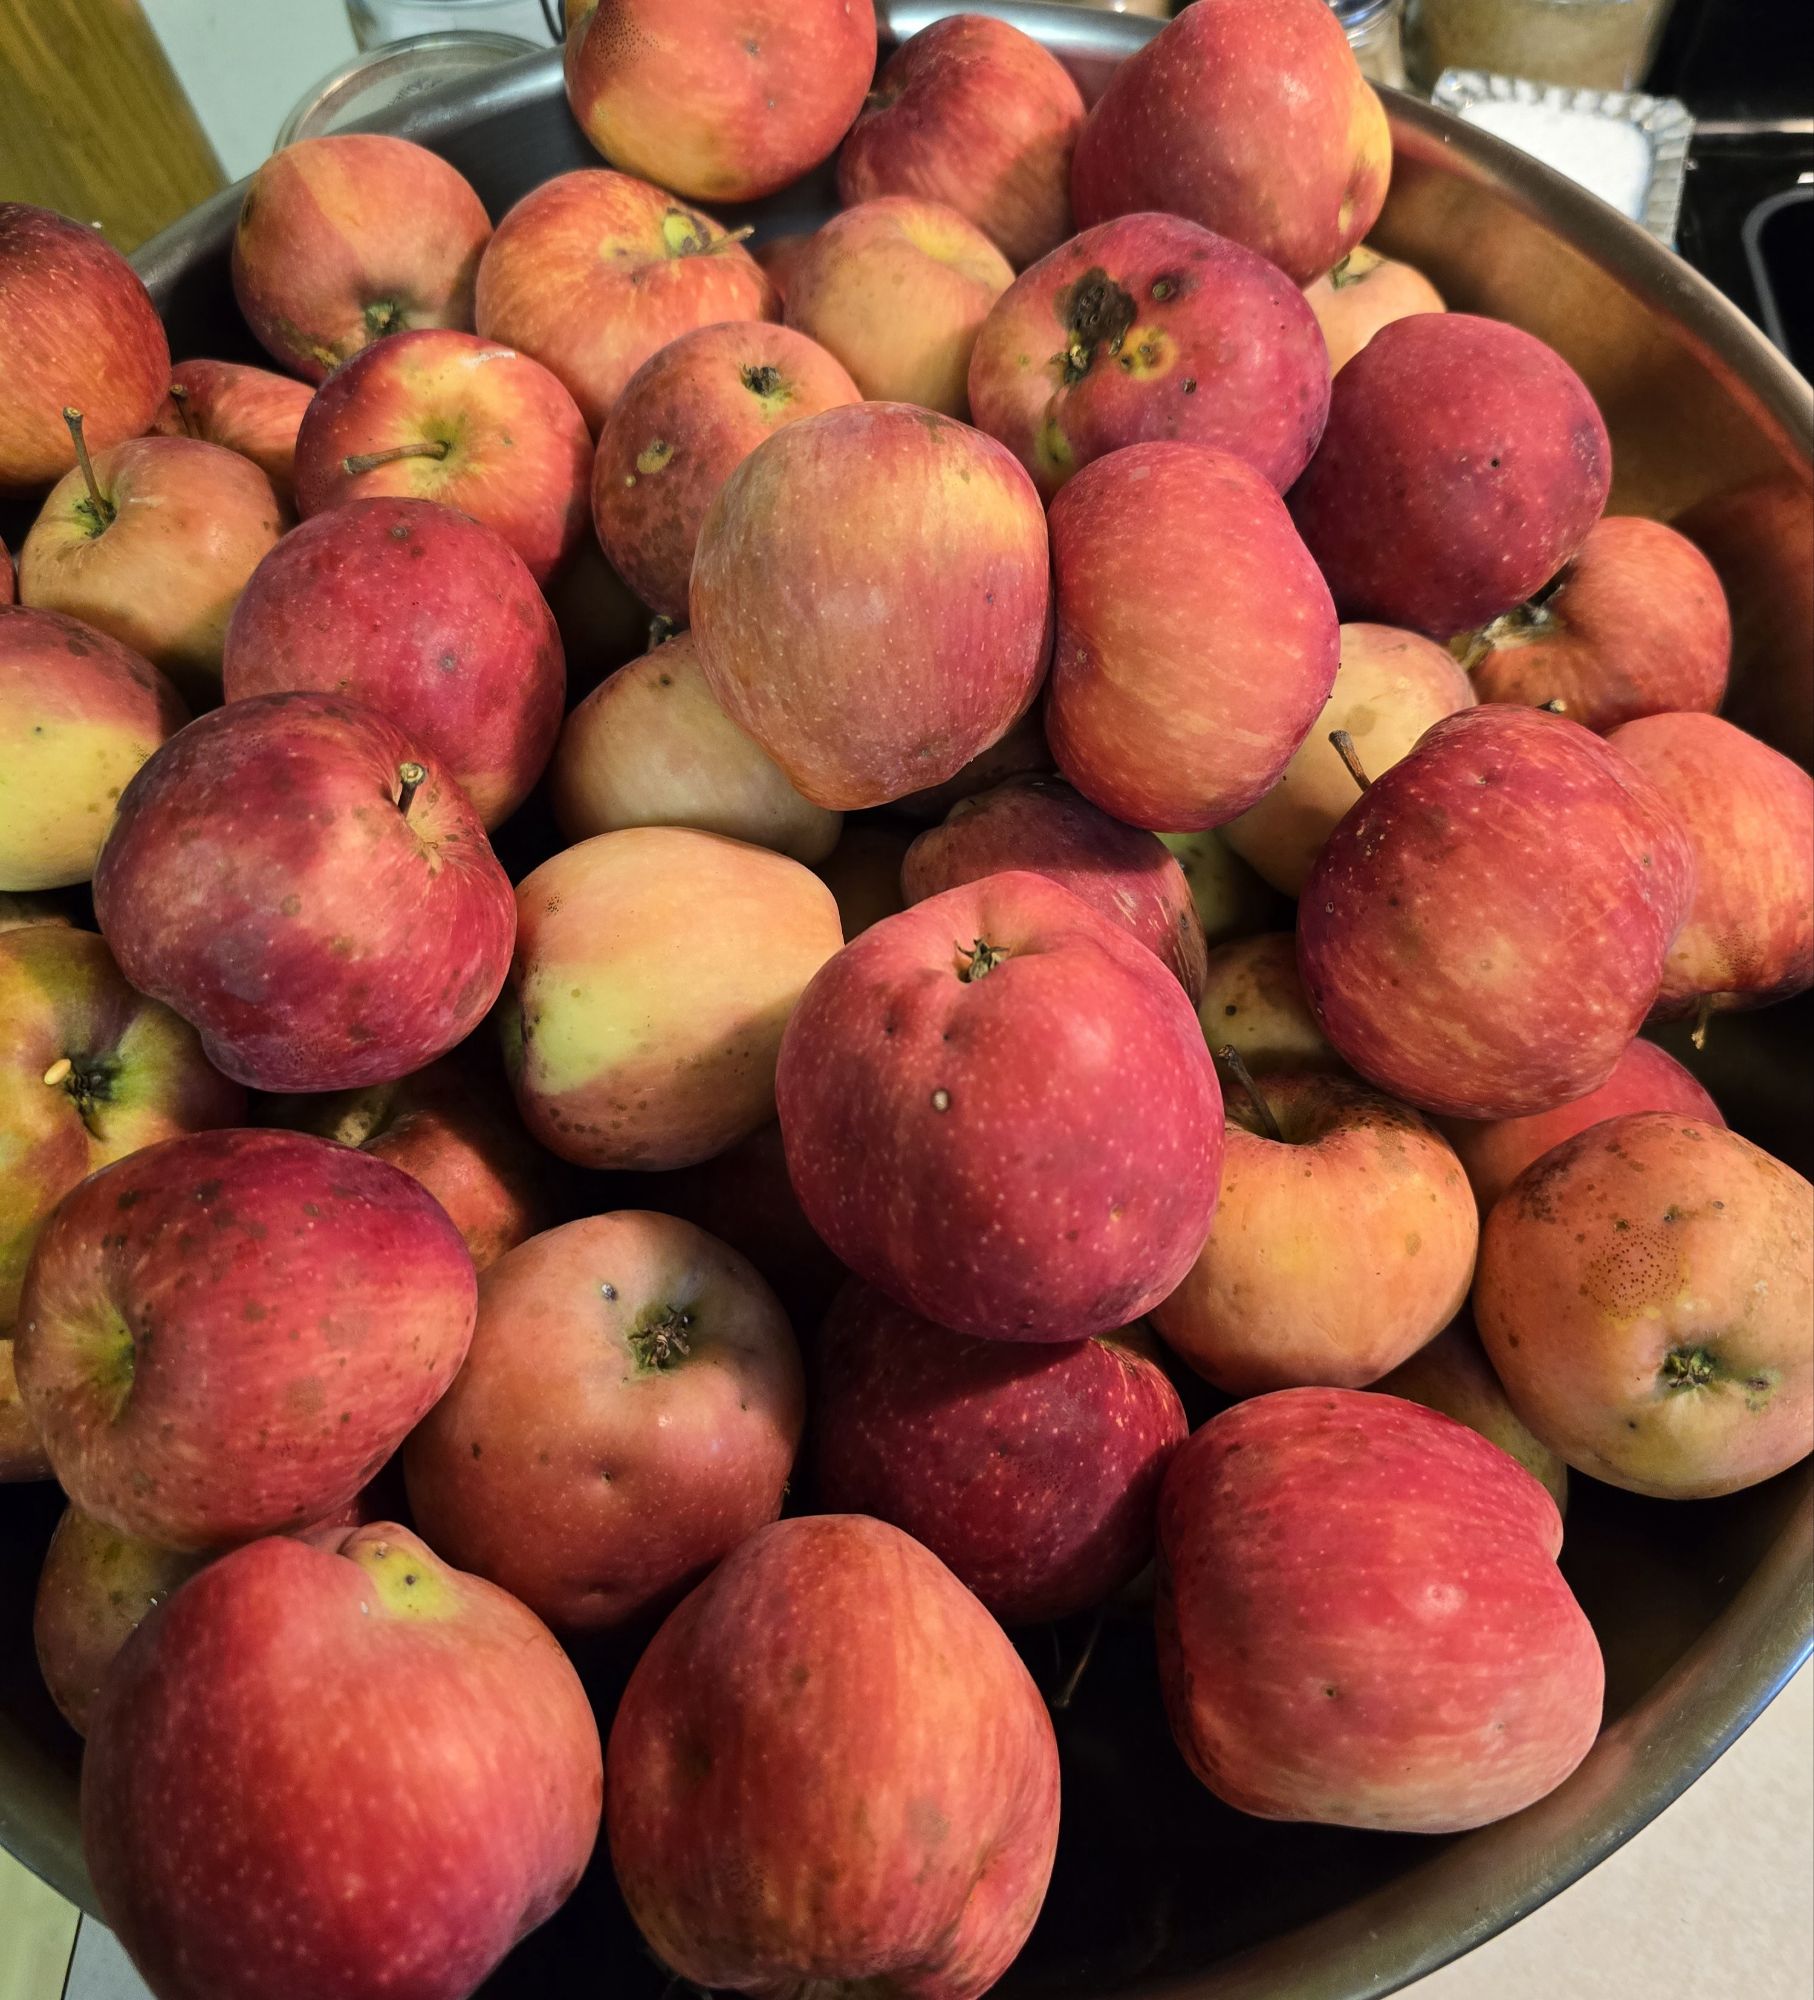
- Apple selection is important. I don’t spray my trees, or do much of anything to grow bigger apples. I use Red Delicious apples for cider vinegar because I have so many of them in good years. They are also sweet with plenty of sugars for fermentation. After they ripen, I harvest a large quantity and sort them into categories: near perfect fruit (for refrigerator storage), best (fresh eating), seconds (culinary uses), gnarly apples with some usable flesh, and wildlife food. I find the gnarly apples make excellent cider because in paring them to cut away the bad spots, more apple skin goes into the juicer and gives the liquid a darker, more desirable color.
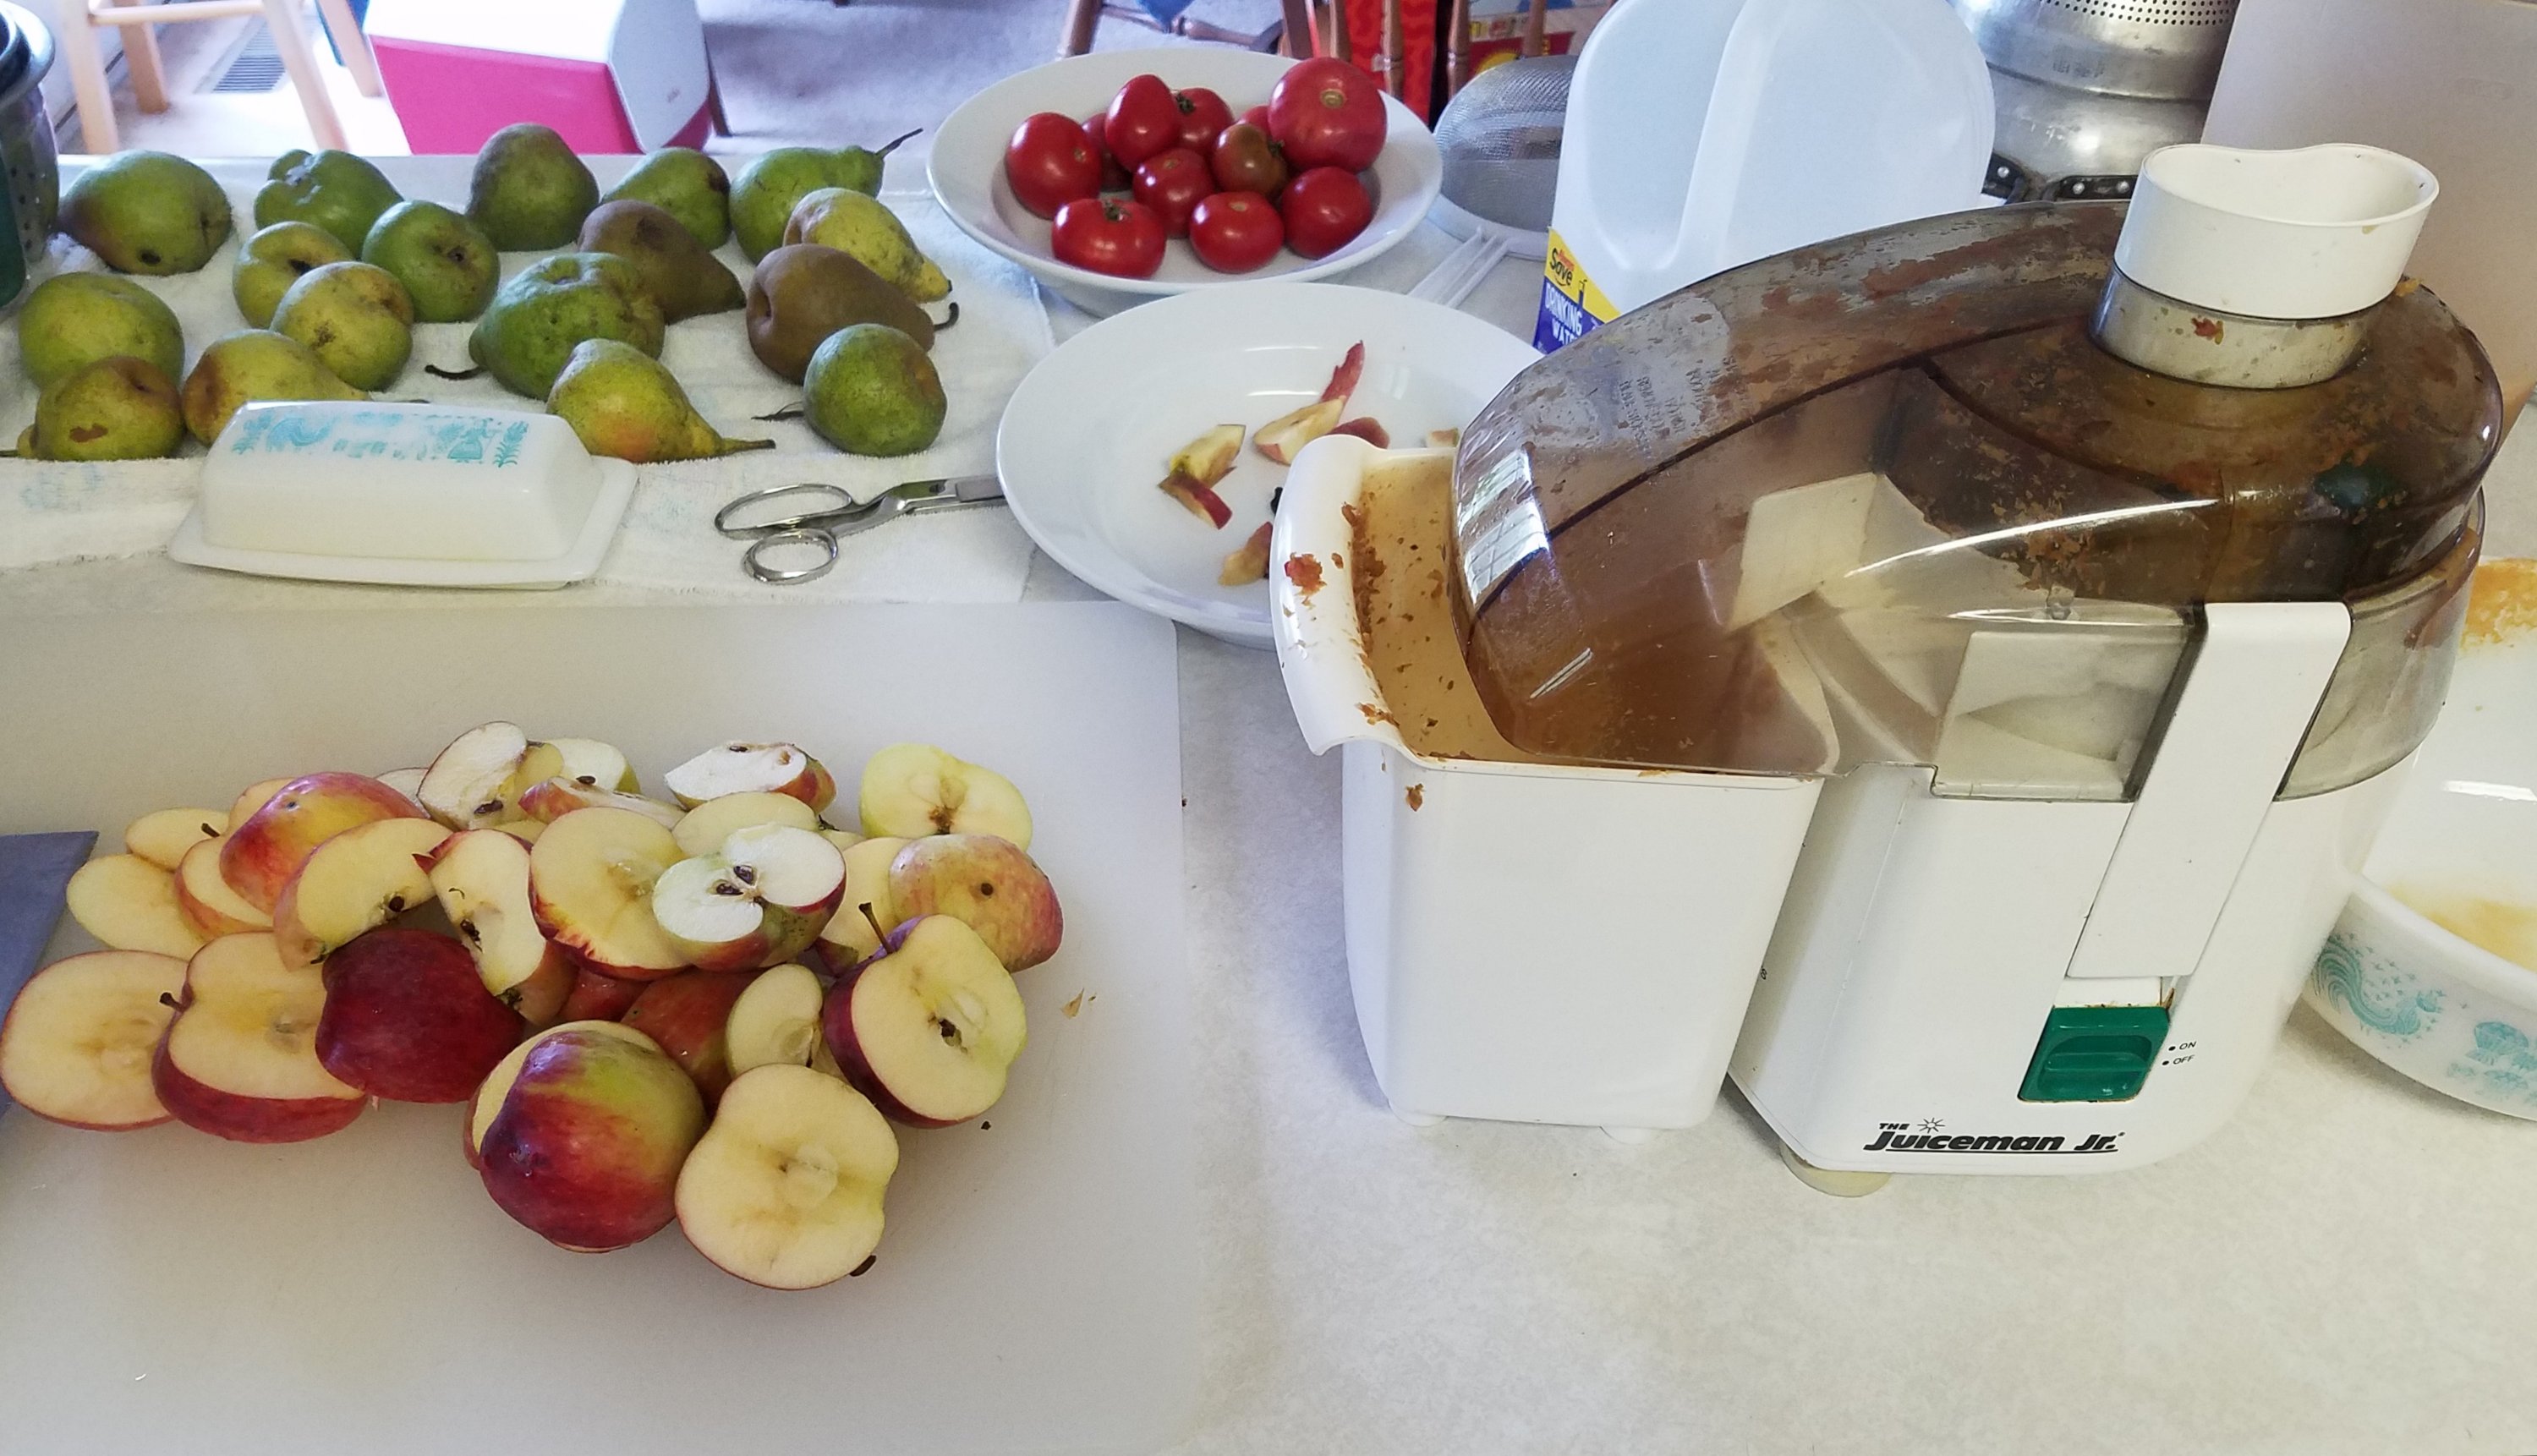
- Equipment. My toolbox includes a Juiceman Juicer (the kind advertised on television back in the ancient days when I viewed the medium), a paring knife and a chef’s knife with large cutting board, two large Rubbermaid plastic pitchers, two different cone funnels, a large slotted spoon for skimming apple scum after juicing, a basting tool, and ten half gallon Mason jars. Vinegar will ferment on its own yet to speed up the process, I add an eighth of a teaspoon of Red Star Premier Blanc yeast, used primarily in wine-making. While not really hardware, it is a tool.
- Set up work stations. You will need five: an apple sorting area (mine’s near the furnace), an apple washing station, a cutting station, a juicing station, and a fermentation station. Once fermentation begins, I have a shelf in a dark pantry where it finishes.
- I did not keep time records. From the washing station to the fermentation station took roughly 12-15 hours to produce five half gallons over six daily shifts.
- Make the vinegar.
Here are some notes.
- Things go more quickly if larger apples are used. In a home garden that is not always possible. As mentioned, I use gnarly apples which takes more time.
- Do a lot of work at each station. For example, cut and pare a large pile of apples at a time. Accumulate a big bowl or two of cut apples before juicing them. Focusing on a single task for a longer duration seems easier.
- Keep the juicer clean. Stop juicing as many times as needed to ensure the solids are not backing up and blocking something.
- The liquid coming from the juicer has four main components. A buoyant pulp that should be skimmed off and composted before pouring the extract into the Rubbermaid pitchers through a cone funnel. Allow the liquid to rest in the pitchers until it separates. There will be three layers: the top is grated bits of apple skins and flesh, the middle is the amber cider, and some apple particles sink to the bottom. If I have a quart or less left over at the end of a shift, I put that in a Mason jar and let it separate overnight.
- Prepare the jars. Pour out what’s left in them — a mix of last year’s vinegar and the mother. I always keep a little vinegar in the jars to protect the mother until I’m ready for a new batch. Once the jars are clean and dry, place some of the mother back in and pour enough of last year’s vinegar to cover it.
- I use the baster to get through the top layer to the cider in the middle. One baster at a time I transfer the liquid to the half gallon jars. When the jar is half filled, I add the one eighth teaspoon of yeast so it gets mixed in adequately.
- Leave at least one inch of headspace in the jars. Then cover them with a cotton cloth secured by a rubber band.
- Now we wait for fermentation to begin. it won’t take long, within a hour or so. As it begins, make sure there is enough headspace. Every batch is a little different depending on the fruit. I give fermentation a couple of days on the counter to get started. A reason I leave them on the counter a couple of days is so I don’t forget they are active. Once you finish this step they can be moved to pantry.
If I miss a few years, I have plenty of vinegar stored in one liter bottles to last. Like with anything, I use the oldest vinegar first. Pro tip: Clean all the equipment, especially the juicer, every day at the end of the shift. You will be glad you did.


You must be logged in to post a comment.