Sunday I finished reading A Basket of Apples: Recipes and Paintings from a Country Orchard by Val Archer. I wrote a brief review: “The paintings are gorgeous. The recipes very British, heavy on dairy and animal flesh. If you cook like that, give it a go!”
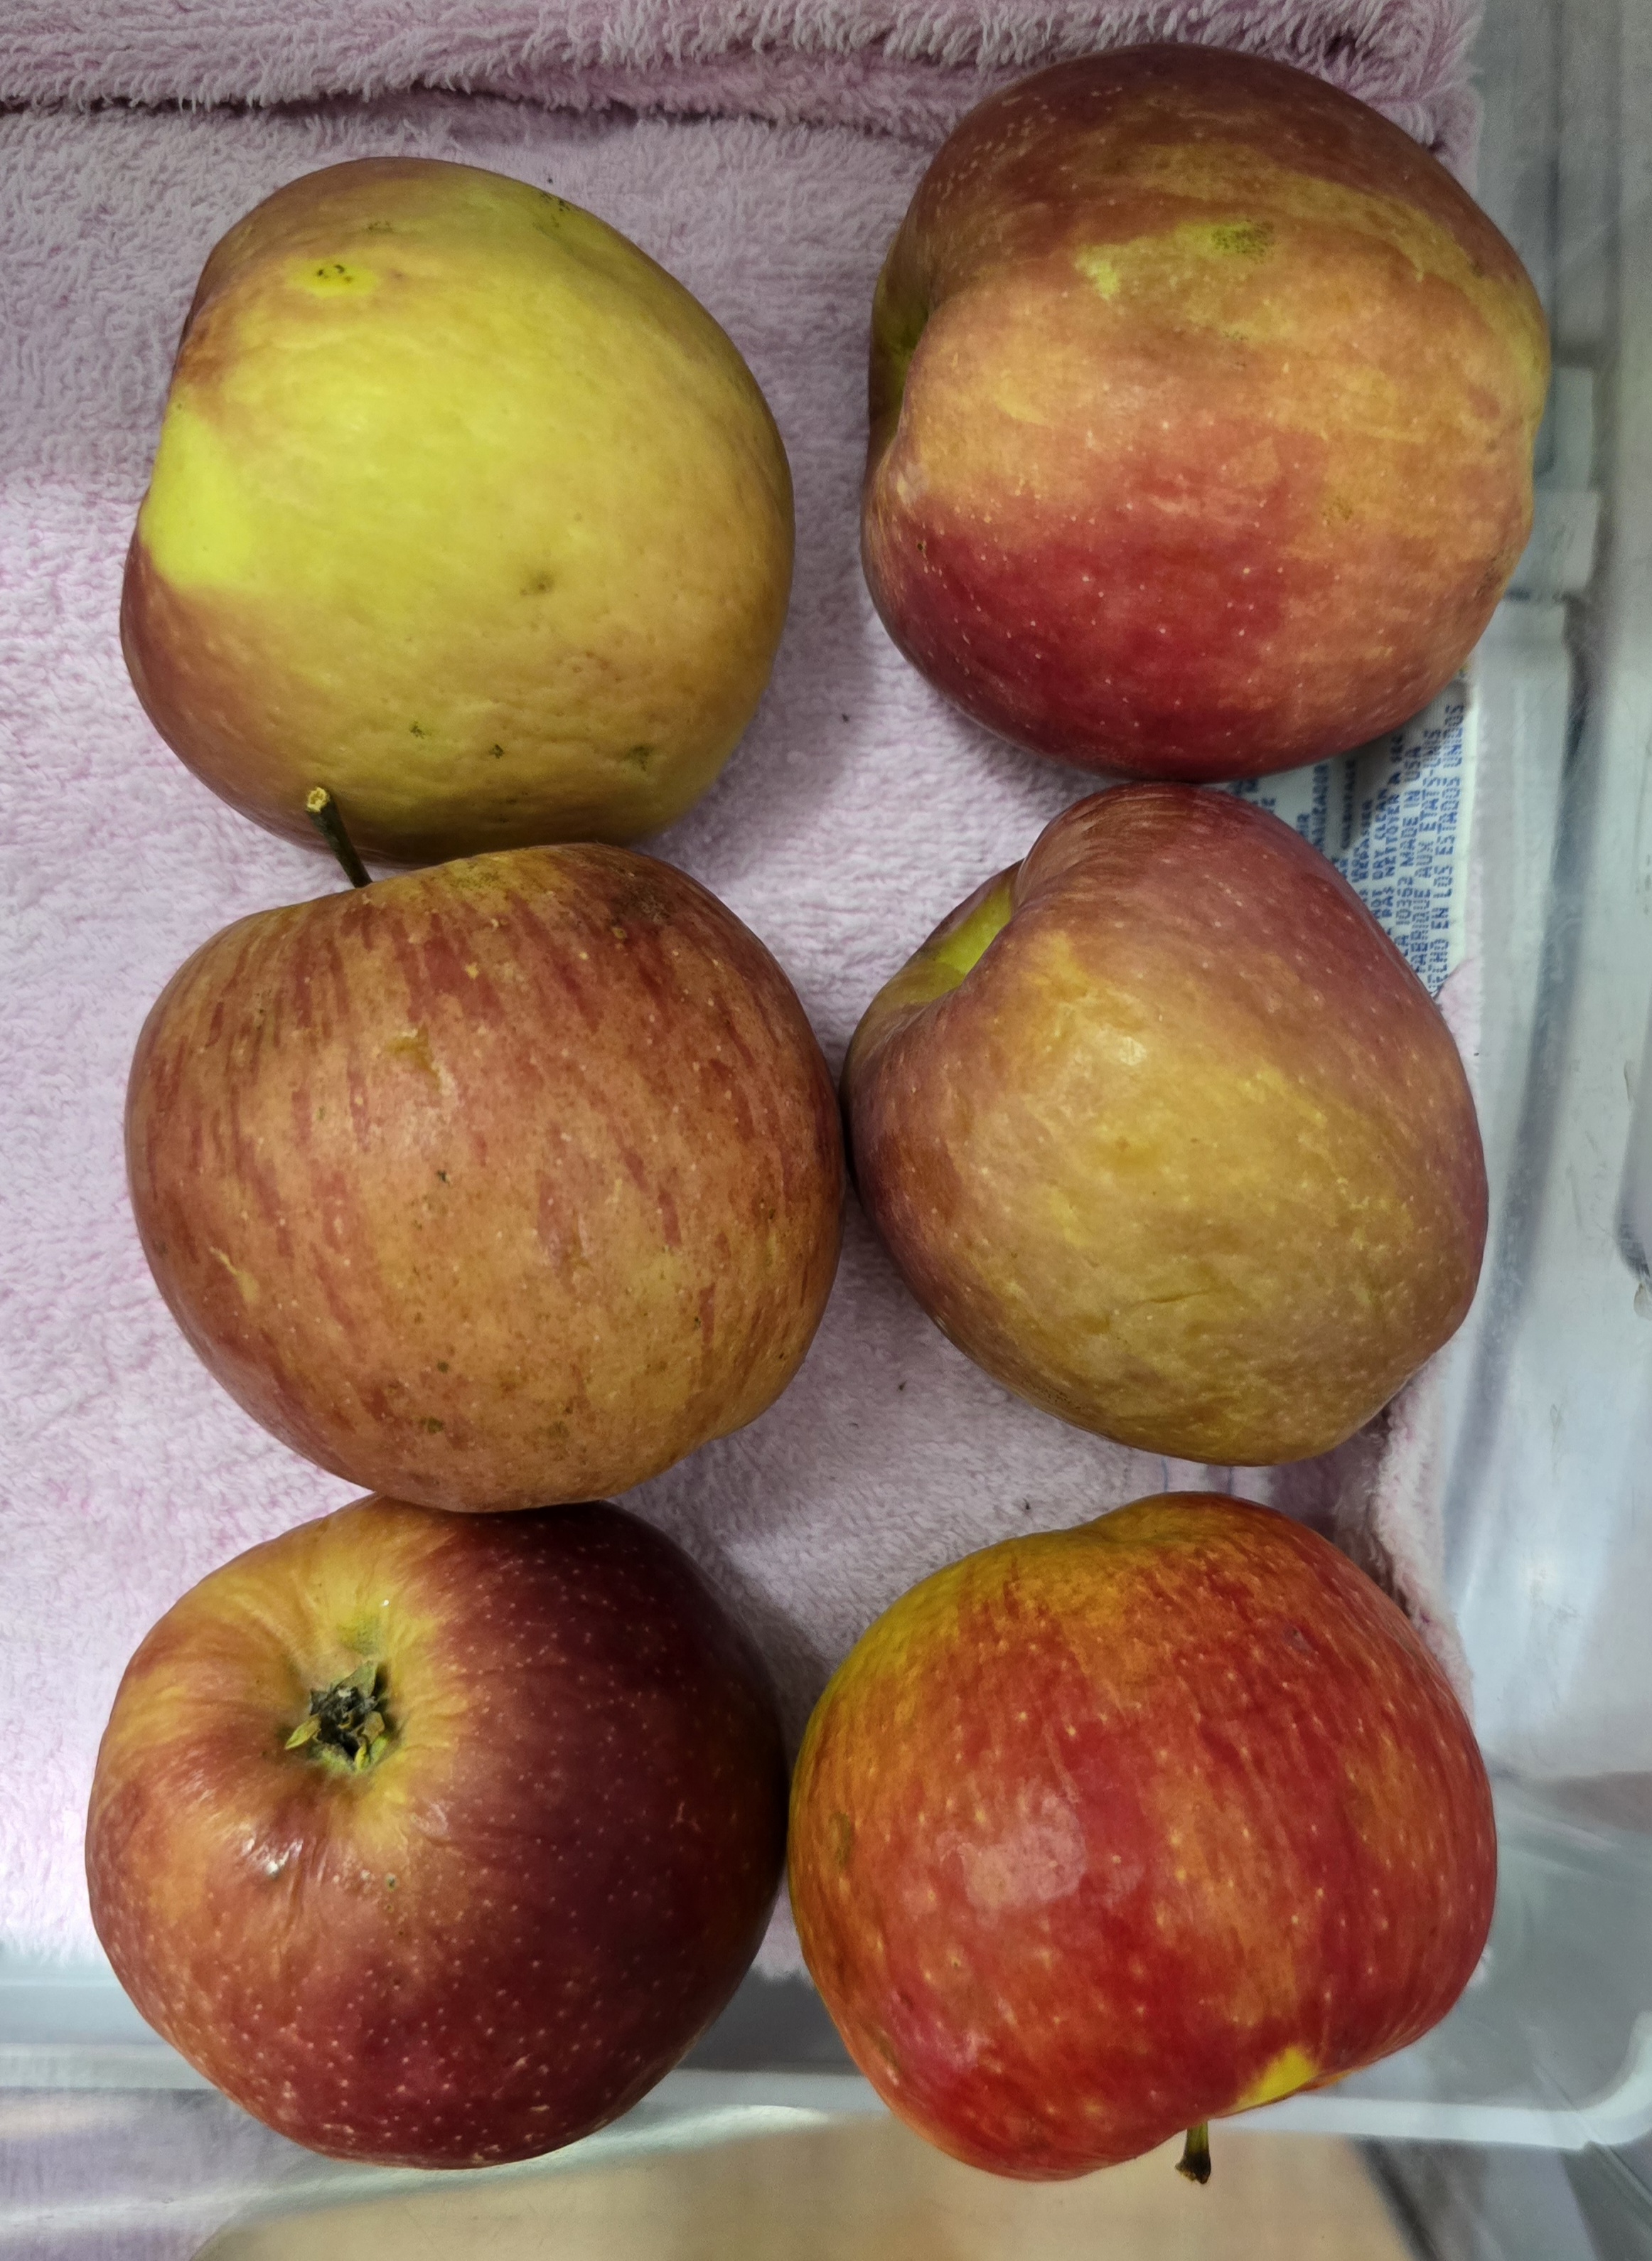
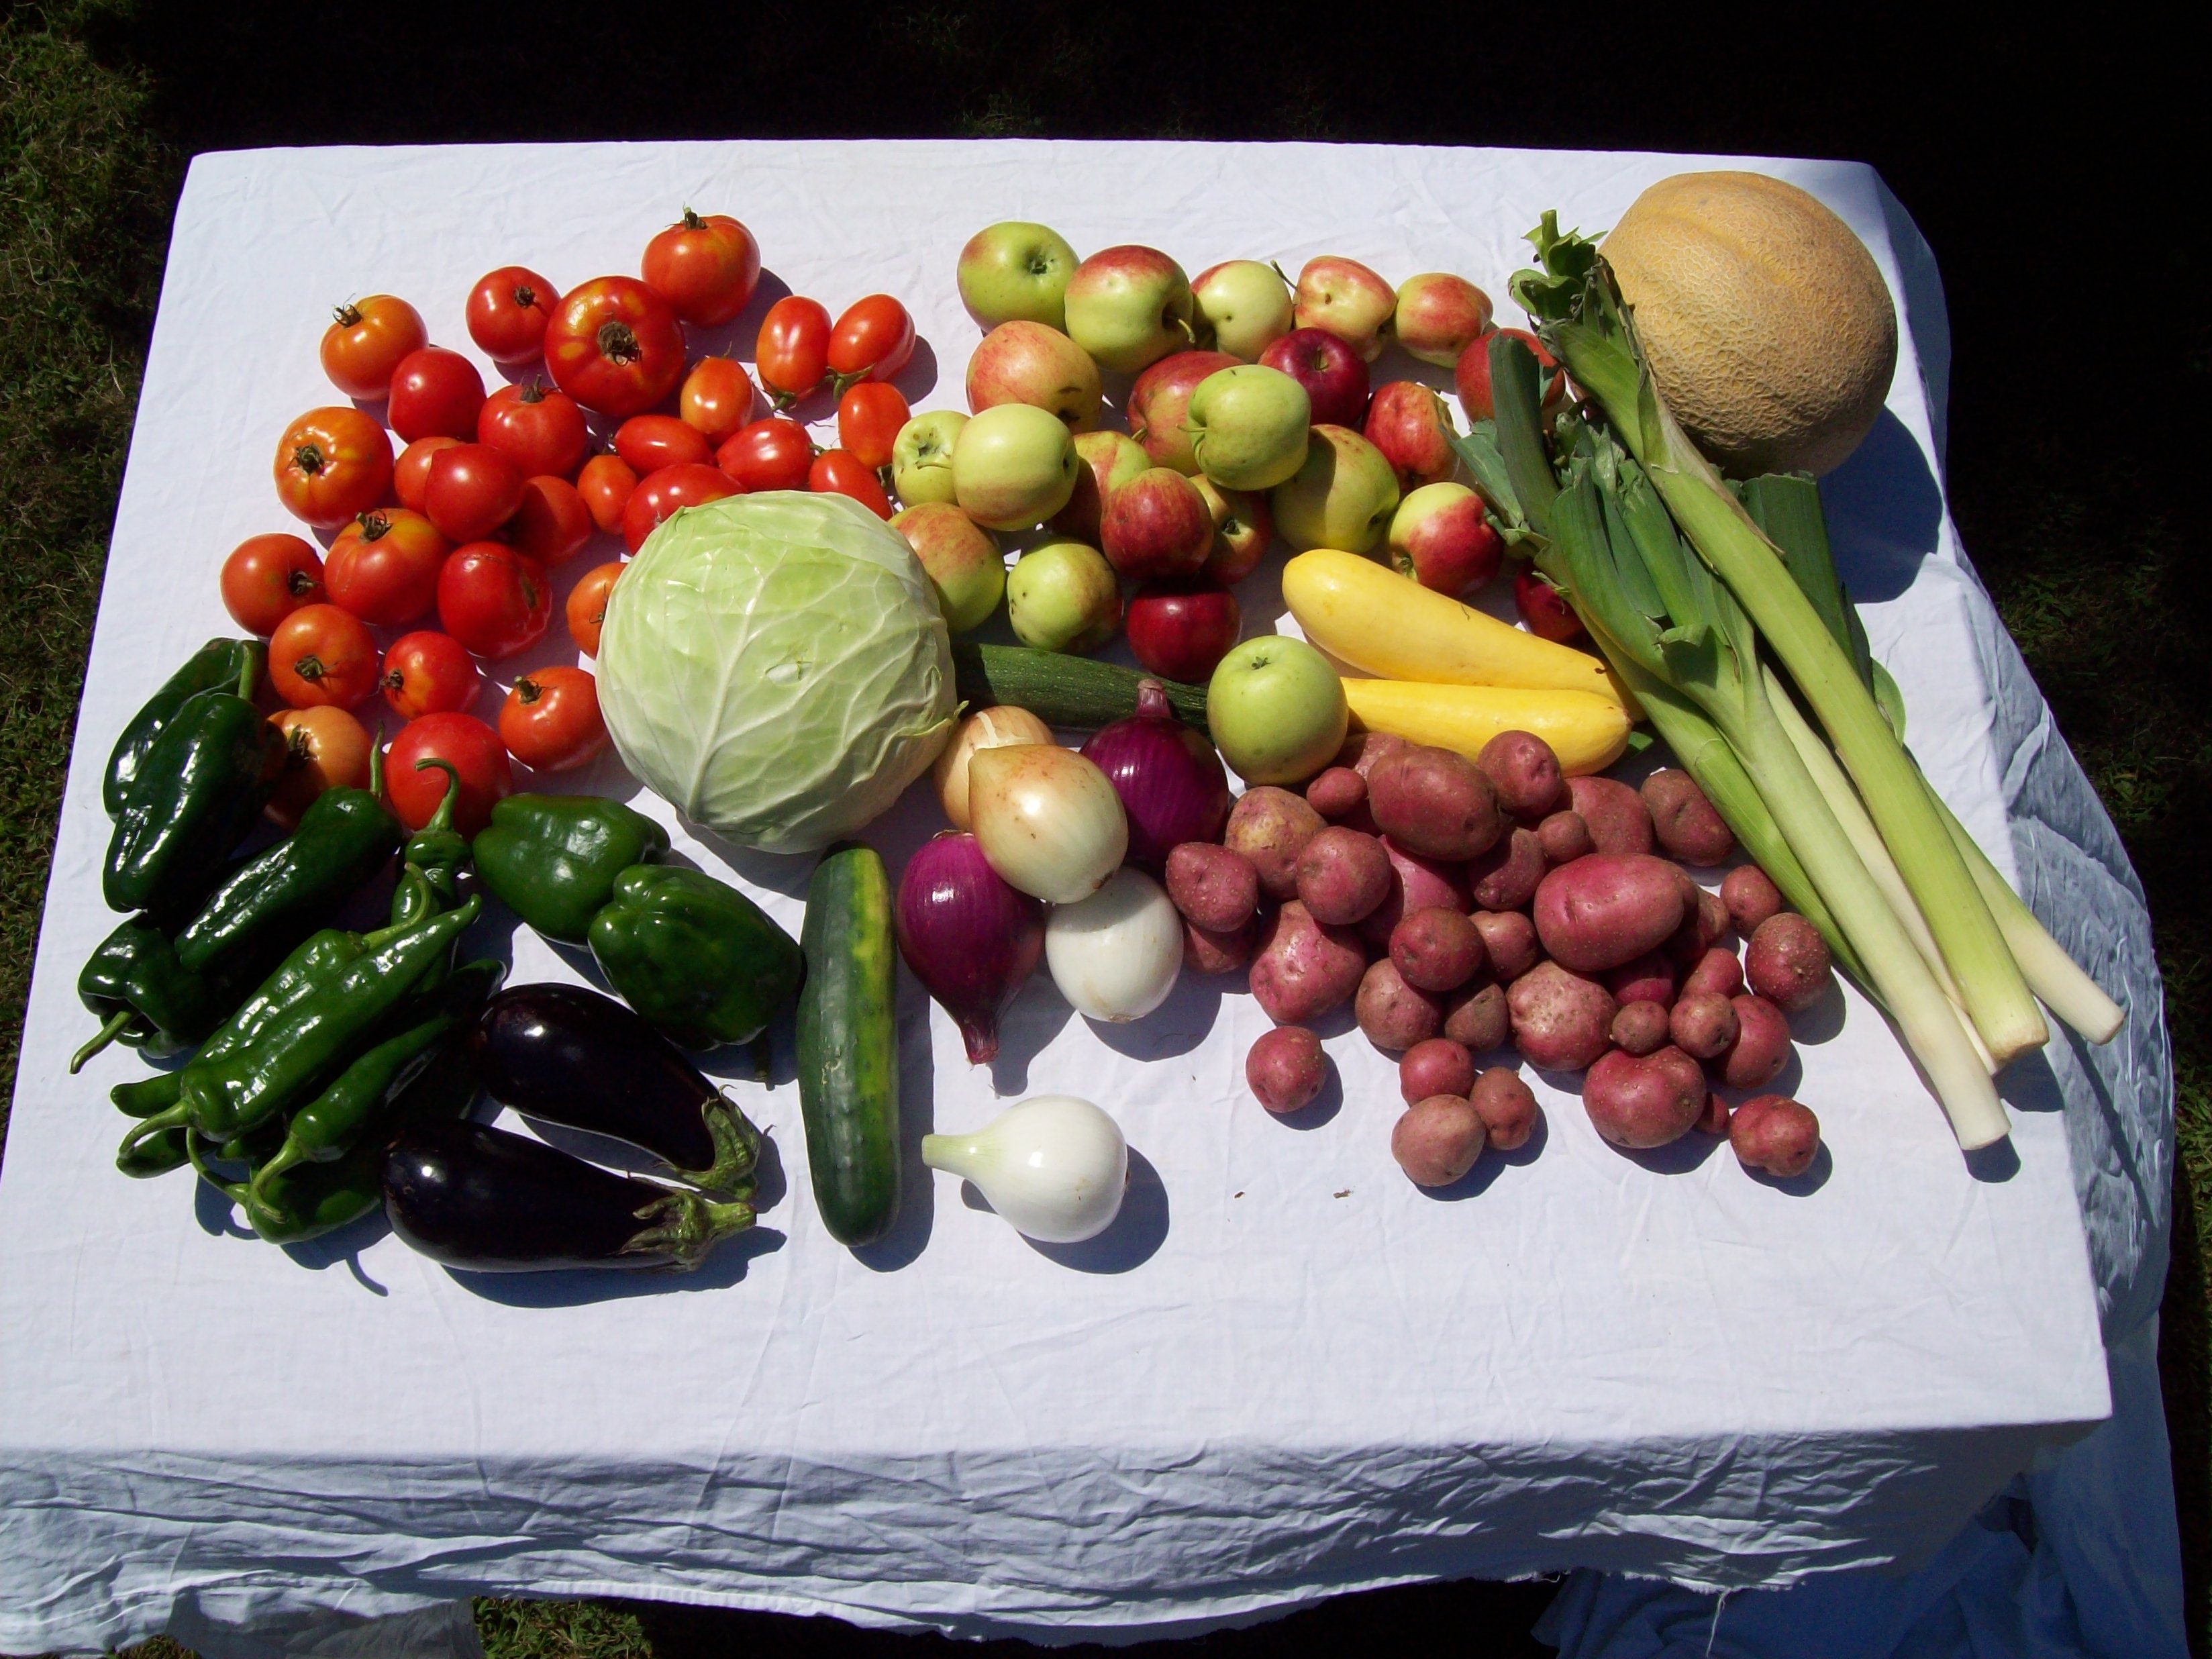
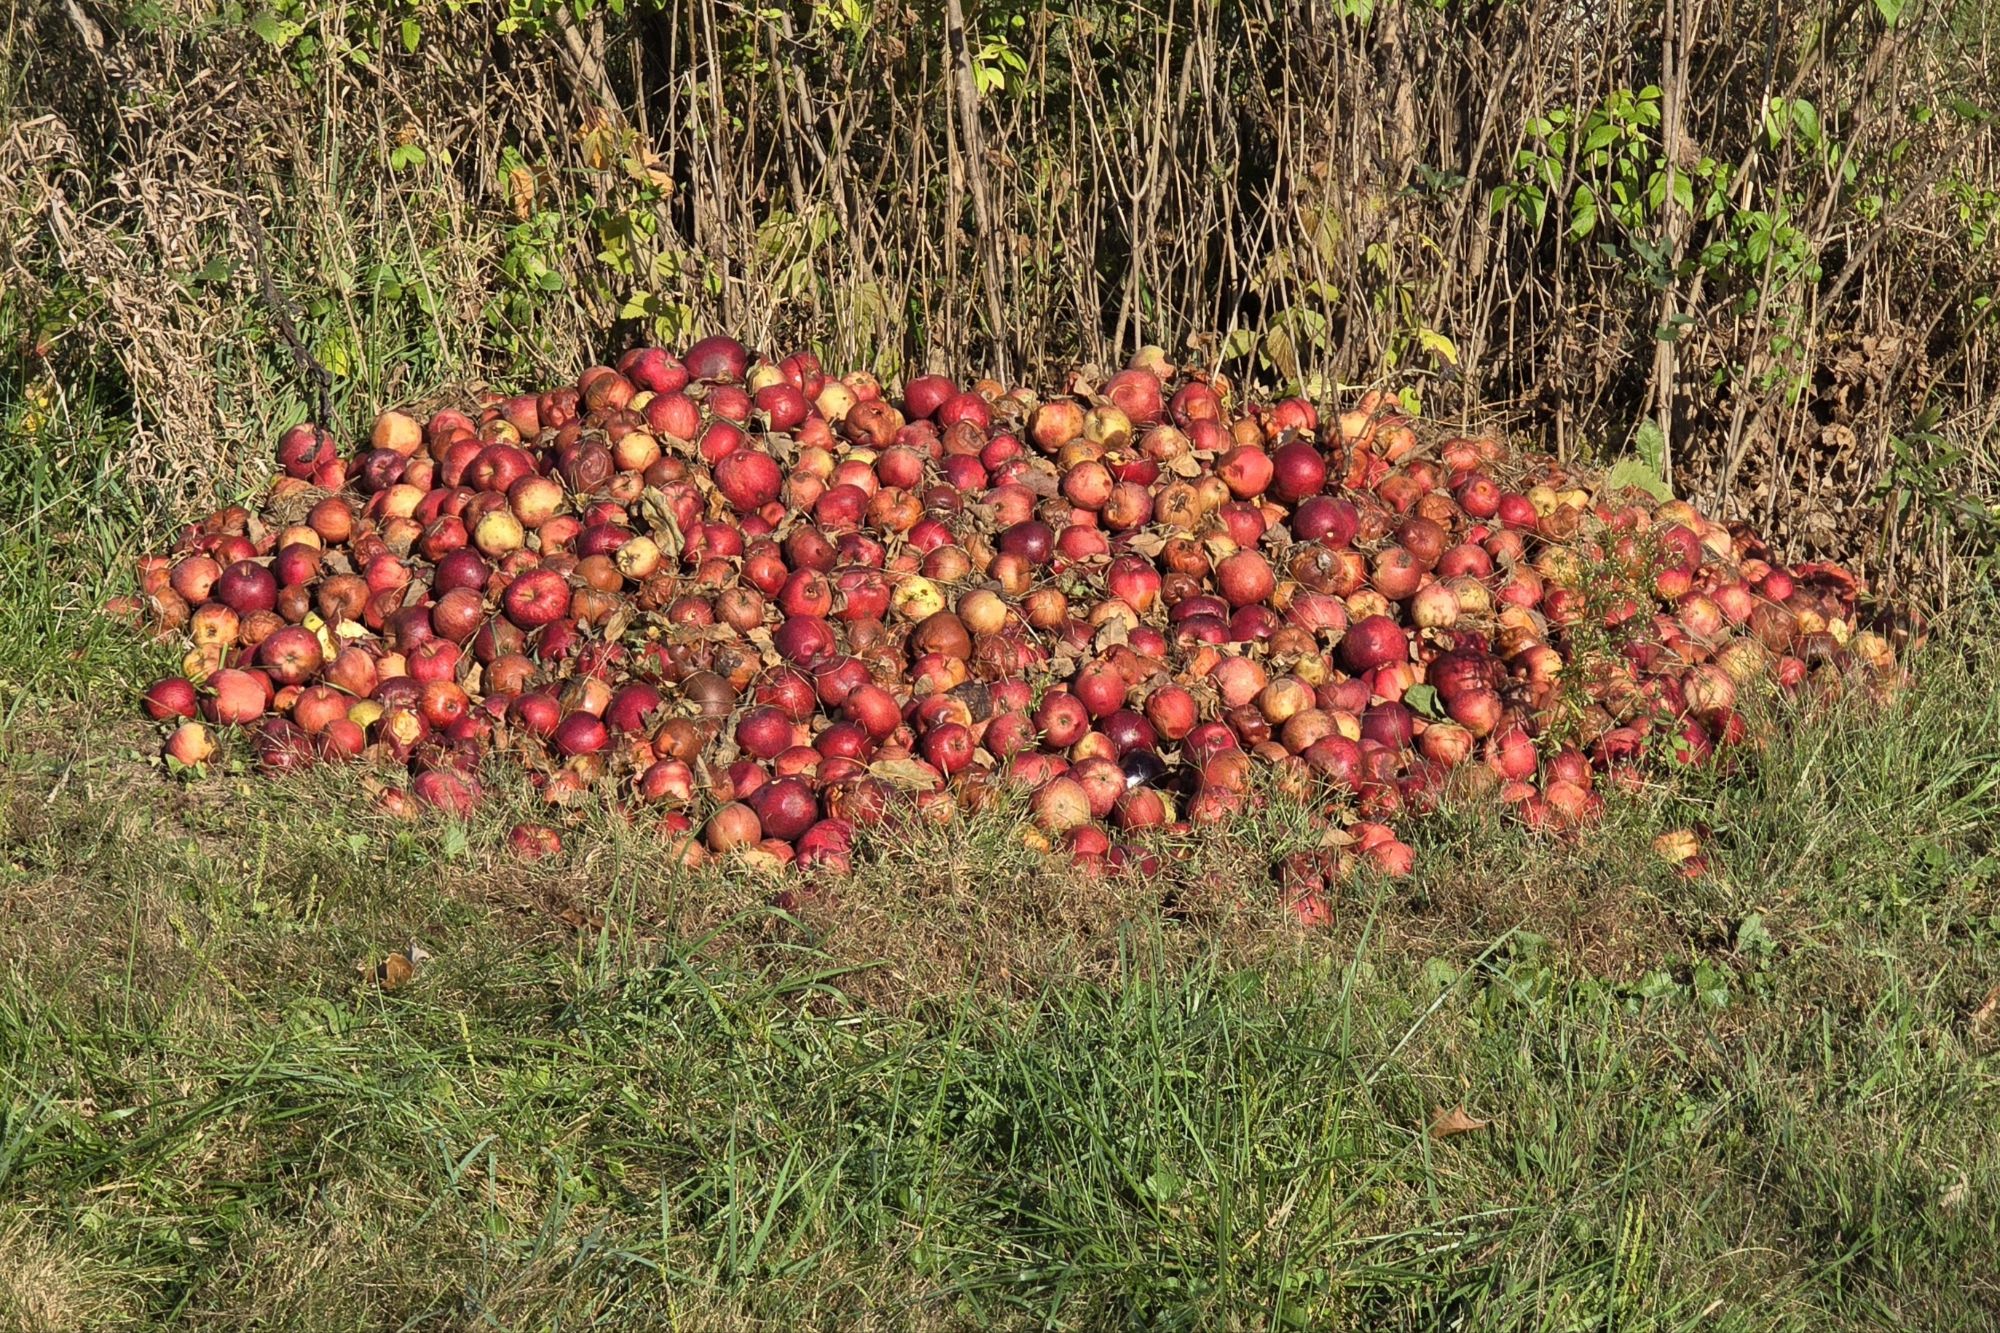
Planting apple trees on our lot in 1996 was a defining moment in my life. I remember the family gathering at our house after my mother-in-law’s funeral, then leaving for Ames with my father-in-law while I stayed behind to plant the orchard before joining them. Over the years, some trees were lost to windstorms and a derecho, but three of the original six still produce. Today, the pantry is full of apple cider vinegar, dried apples, applesauce and apple butter… plus these six fresh apples.
At a political event on Saturday, a long-time friend arrived with a car emblazoned with promotions of veganism. It got me thinking about why I settled on being ovo-lacto vegetarian. Sunday night our household had a conversation about that and I reached some conclusions:
- I won’t give up butter but can limit myself to one tablespoon per day, and some days have none.
- There is no reason I can’t limit the amount of hard cheese I consume to one or two ounces per day, or seven ounces per week.
- Cottage cheese is less offensive than hard cheese when it comes to encouraging LDL cholesterol production. I consume the regular product, so should limit myself to no more than one cup per day and try low-fat.
- Fluid milk is basic in my diet, and I will measure how much I consume. Not sure of a limit, yet drinking 16 ounces per day seems like a start.
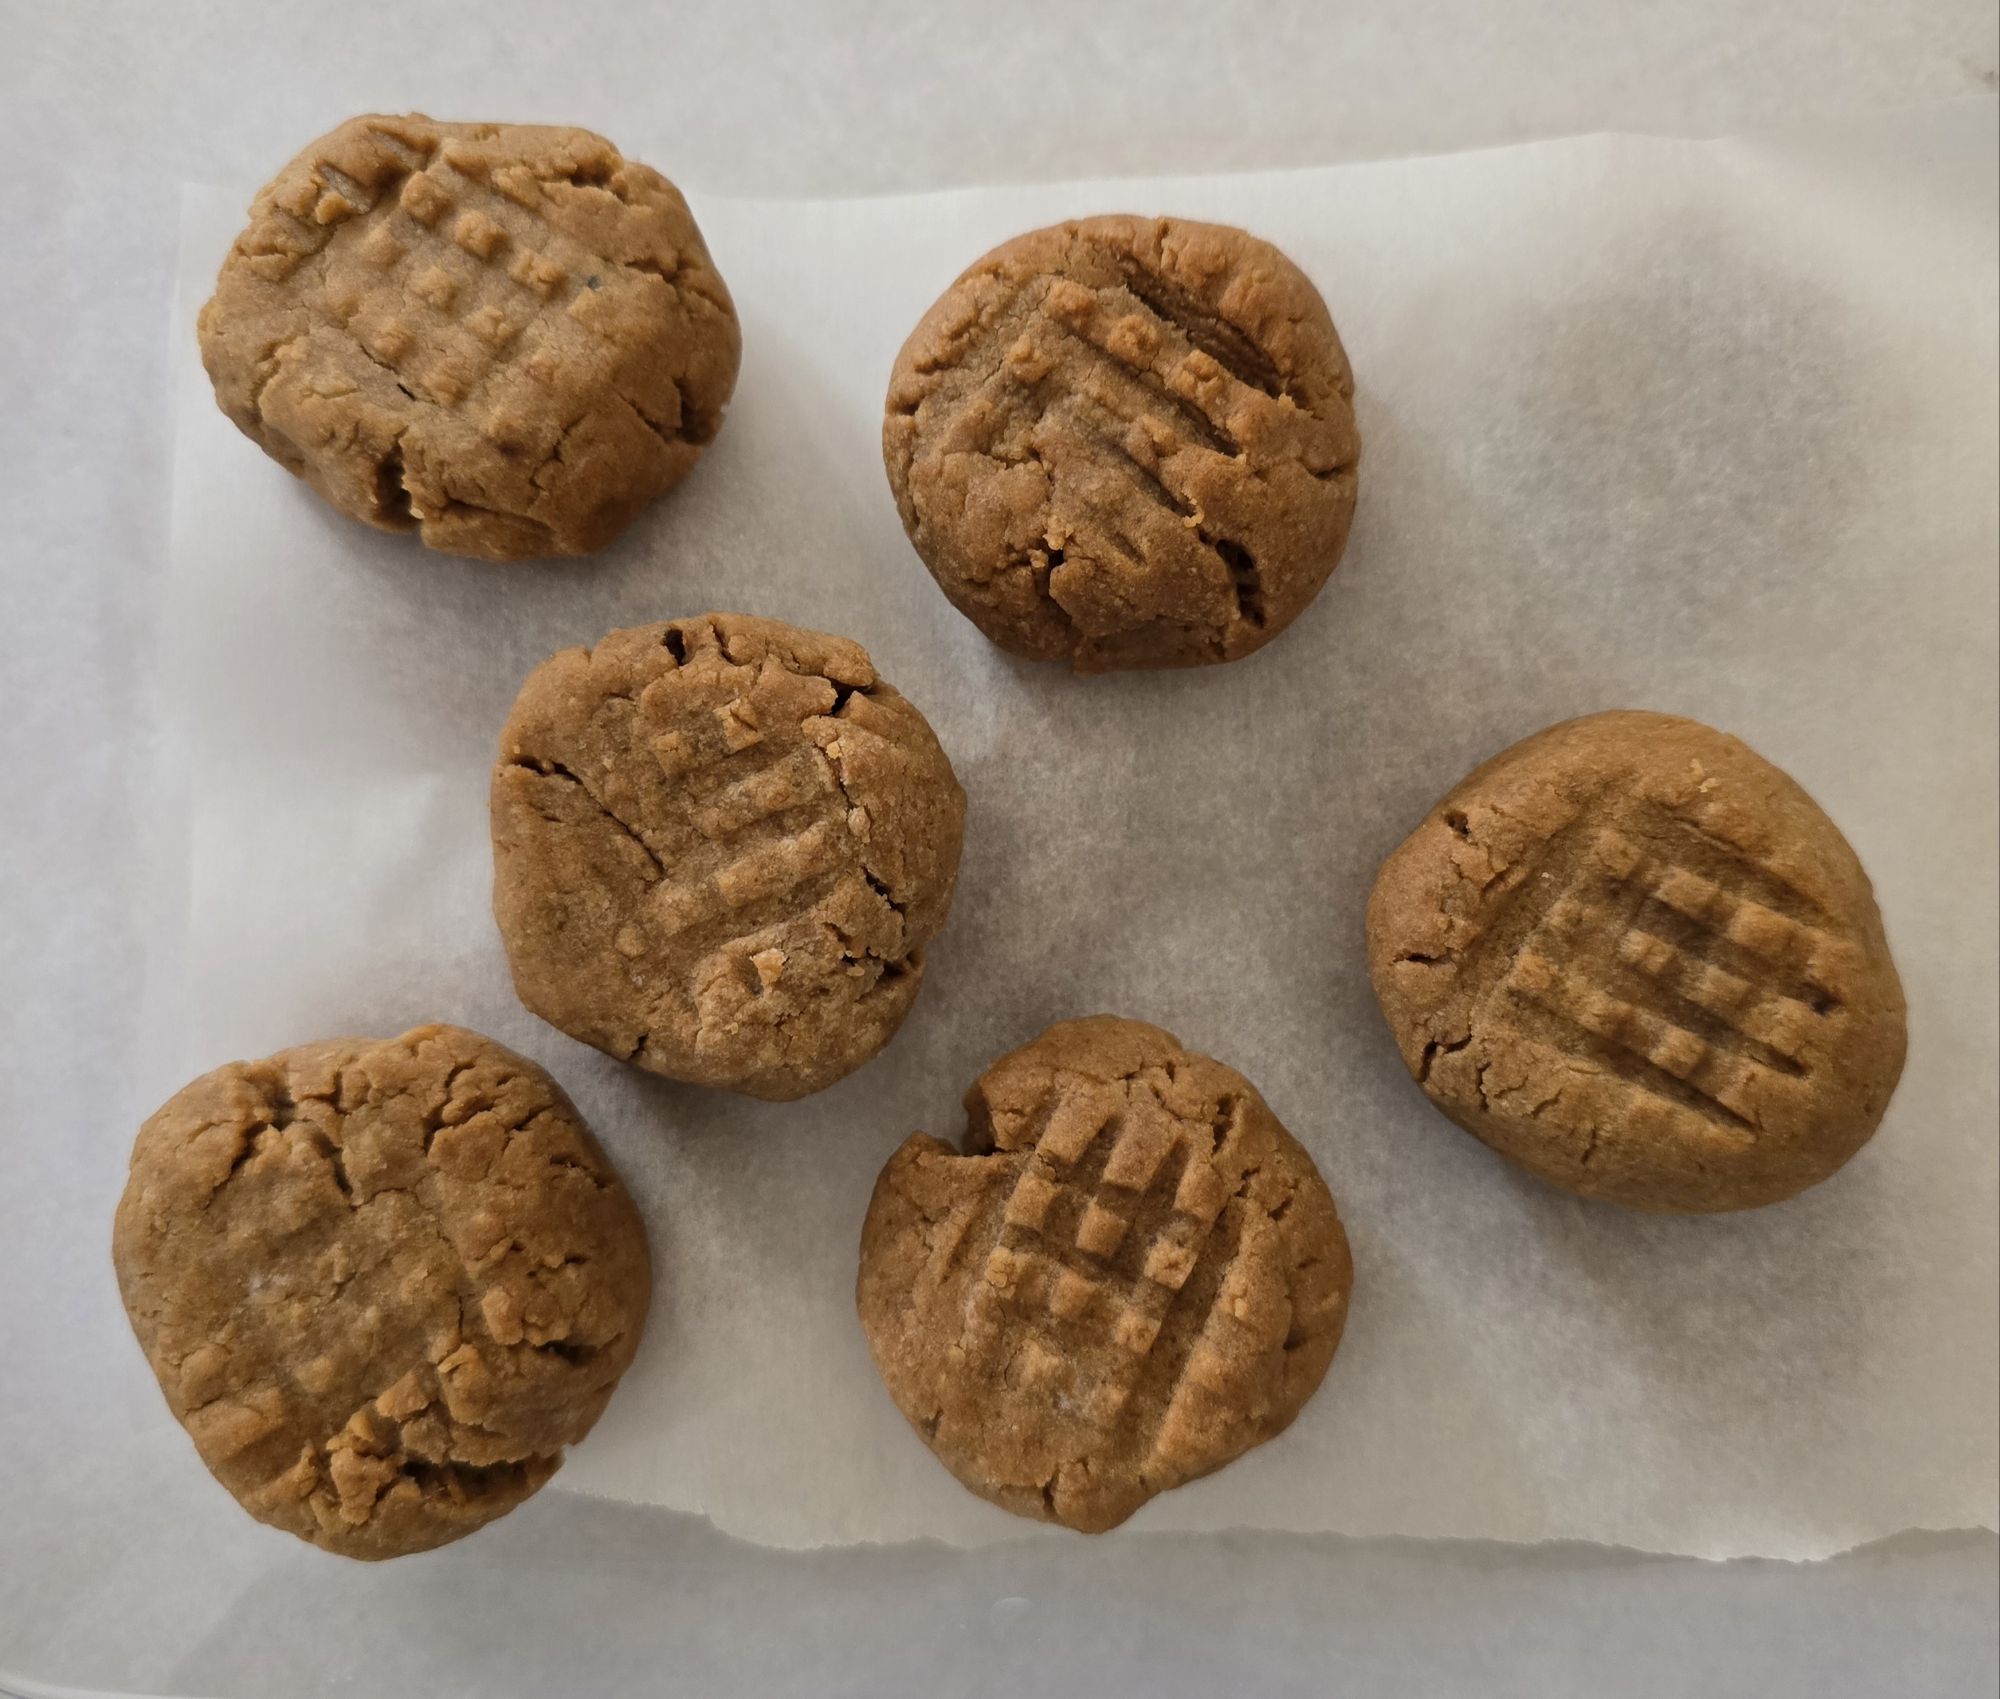
- Peanuts and peanut butter are a daily menu item. Roasted, salted peanuts for snacks, and Jif-brand peanut butter for meals or evening dessert. Goal is quarter cup peanuts per day and no more than two tablespoons peanut butter in a day, leaning toward one. Natural peanut butter will be for some, but not all of my consumption.
- Sodium intake is a constant overage in my diet. Need to continue to reduce how much I consume. That dang brain of mine rewards consumption of salt, so I need to be less “brainy” in that regard.

Sadly this means I won’t be visiting Archer’s book for recipes. From time to time, though, I can remember her beautiful paintings.


You must be logged in to post a comment.